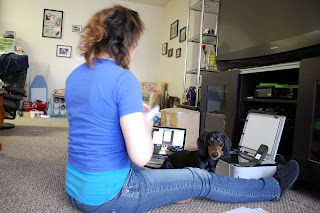
Busa and I scanning sketches in. I choose this picture because of him lol. He's so cute
Today has been filled with many things, I did laundry, cleaned, worked on my magazine layout, scanned all my sketches (that I could find) into my computer and made a tutorial. Yay! I know that I haven't done a tutorial yet, which I wanted my artwork holder to be a tutorial but since I ran into too many issues it ended up not being one. So I am proud to say that I made valentines for my two lovely twin sisters back home in Texas. They wont be getting them tomorrow but that's ok.
What you will need:
Illustration board (or cardboard)
Decorative papers
X-acto knife
PVA glue (regular Elmer's glue should work)
Metal ruler
cutting mat (or some thing to protect the table while you are cutting)
Cut out a square (or 2) using the X-acto knife and the metal ruler.
Mine are 7in x 7in
Glue the decorative paper onto one side of the square, centered. Make sure when gluing not to put too much glue on to it or the paper will wrinkle and try to spread out as evenly as possible.
Once glued on glue each corner to the back of the square. It should look like this.
After that, I used my bone folder and creased each side so that it would fold easily. Once folded glue each side to the back.
Then take a strip of a different paper and cut a strip long enough to glue a little bit onto the back. Mine are 8 inches long.
This time glue the back side first, but make sure it is centered on the front. I do it this way so that it sticks how I want to with out having to rush to put it down before the glue dries. But if you would rather do the front first that is fine too.
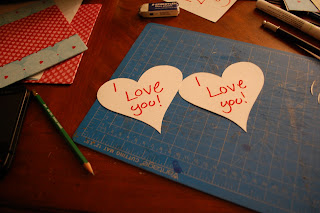
I cut out hearts with my x-acto knife that I drew and wrote on them.
Then glued it to the top and TADA a valentine. :)
If you need help or have any questions, feel free to Email about it. If I am awake I will reply once it goes to my phone.
I know it is SUPER last minute, but hey there's no time like the present ;p.


No comments:
Post a Comment
Thank you for taking a peek at my blog, feel free to leave a comment. I always enjoy reading comments and definitely like feedback. Have a fantastic day, and thank you for visiting my lovely blog. <3 Meggerz :)